Did you know that there is such a thing as infrared photography? In particular, this is the type of photography that records light we cannot see with our eyes. This light is infrared light. It is all around us yet we cannot see it. The infrared lens allow you to capture the kinds of gorgeous, one-of-a-kind shots that a normal camera just cant provide. We wishes to enable you with this article by teaching these basics and how an infrared lens works will create the most fantastic photographs that even surprise yourself.
The Art of Infrared Photography
In other words, using infrared photography is particular in a sense that it perceives light differently than regular photography. Infrared light is only invisible because our eyes simply cannot see it. Such light can be experienced as heat., and hence it has the ability to pass through hazy, foggy materials even if you are wearing clothes or passing by leaves. New Opportunities The ability to see through certain objects makes infrared photography quite interesting. Infrared photography has a unique way of light capturing which makes the images look surreal and out-of-this-world. They allow us to see the world from an angle we are not used seeing it.
How Infrared Lenses Work?
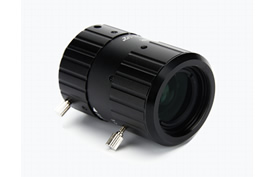
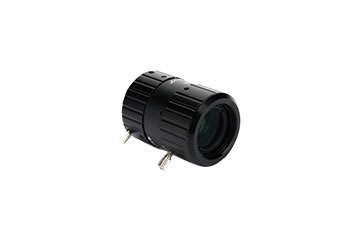
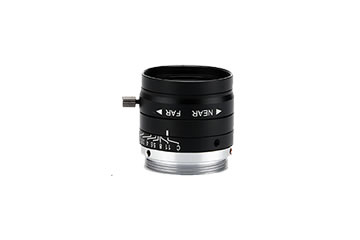
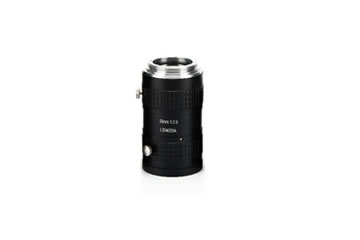
Infrared lenses are simply special infrared light capturing lens. To capture these distinct images, you can use several types of infrared lenses. There are two general varieties, the infrared filter and modified camera. An infrared filter is a custom piece that you place over your standard camera lens. This infrared light filter only lets pass the IR (infrared) spectrum of human eye. In this case the modified camera is a normal one, but its sensor has been altered to take only infrared images. Lenses like these two can allow you to create amazing and interesting photos about different perspectives.
Simple Tips for Doing Infrared Photography
Getting into infrared photography can at first seem daunting, but it is a lot simpler than you may think! Some simple tips to get you started.
Infrared photography generally uses longer times to take pictures but it varies on the type of film and which IR filter you use, so be prepared for handheld if taken during a course day. The other option here is good old tripod these have been round forever. You also need a tripod to ensure that the images stay clear and tack in your photo.
Good lighting: The sun at midday will allow you to capture more infrared lens light. However, you may want to take advantage of the soft golden light during sunset or perhaps sunrise for different photographs. It really makes a difference when you take the photos at an appropriate time of day.
Think of interesting angles: since infrared light present a new on the world, you should try different angle to find out cool shots. Trying something new (with regard to the framing of your image) can yield some unexpected results.
RAW shooting: Specifically about the Row format of not only your image but also a real freedom to correct photos after taking it home, loading and working in post with them on your PC. By this way you can color and detail according to your need which eventually makes image more optimal.
Color: Infrared photography will alter the color of your images in unexpected ways, thus adjusting white balance makes the colors look far more natural. That way, your photos will more accurately resemble what you actually see.
Capturing What We Can’t See
Infrared photography has a great ability to show us the other side of something we dont see because it is invisible. When you light up infrared, all of a sudden heat and haze become visible. Well, today you are here with me to learn how you can hook these invisible details:
Check for thermal imaging: because infrared light can detect heat, then things that produce warmness such as people or animals would appear uglier to the camera. Their warmth can help them pop in your shots.
Employ fog and mist—Fog creates an ethereal, almost magical flair to a photograph shot using Infra-red. If you take pictures in such conditions, then your photos to dream of the photograph and adds a unique aesthetic.
The Sun at Noon: As we have seen, between 10am and lunch time are those hours the light is richest in infrared colors allowing you to shoot with your IR photography equipment. You get to use this is the time when you can shoot all those nitty gritty details that I mentioned which, in my opinion, make infrared photography so unique.
Infrared Photography Tips
Top Tips to Launch That Perfect Infrared Photography
Manual Settings: Infrared photography usually requires some fiddling with light levels and colors. 9 manual mode camera skills for taking your best shtnc!
This could take a while to get good at, but once you do; the photos would be incredible. Be patient! If your shoots are not perfect shots, do not bother; set them up right.
Use a remote shutter: With the help of a Remote Shutter, you can click an image without shaking your camera and making another Blurry one. This can be great when working with longer exposure times.
Discover your environment: Infrared photography shows the world from a new point of view. Instead, find something in your environment you can use to create more visually compelling images. Search for configs, hues as well as darkness that only infrared photography can be given.
To sum up, as you saw in this post; shooting infrared photography is a captivating branch and has the power to create wonderful and mystical images. ForkanJoyCreate with an customized lens and you will discover new ways to capture things that hide from sunlight giving memories of other cameras. By following get-go tips, even novices can take some fantastic infrared photographs. Then get your camera and give it a shot! Check out some awesome photos you can get with a Wide-Angle Infrared Lens and the wonder of shooting things unseen!
0 条评论