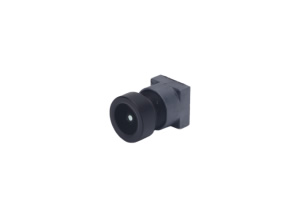
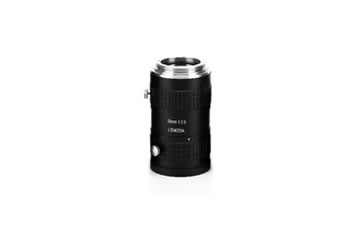
These line scan lenses need to perfectly set up by you. Calibration is simply the jiggle that fine-tunes the lens of our camera to give it its best shot at capturing beautiful images, i.e., a better understanding of whatever we are trying to comprehend! This is significant because line scan lens 4k are used across a wide variety of applications to inspect and investigate different materials and products. For instance, in a factory, they can be deployed to examine products on a production line or in a laboratory where it is used for analyzing samples. On a camera, if the lens to capture images is not arranged in the correct alignment then the photos will be blurred. This might produce improper outcomes and may inflow to severe consequences that can be prohibited.
Image Quality and Resolution
When line scan lenses are employed, one must also bear in mind the quality of image and resolution. Quality of an image is in how selective and crisp the image appears. You need the picture to be easily viewable and readable. In contrast, resolution refers to just how much detail you can see in an image. A high-resolution image might be able to display tiny details that a low-resolution image would just miss, and there are many ways in which the image quality and resolution can be affected: the lighting in room, how open the lens is on creating the virtual environment model, and even how quickly the scan happened. When using a line scan lens it is essential that you choose the right settings in these areas to ensure the best images. Investing the time to set all of these settings can save you hours of editing and drastically improve your image quality.
Lens Trick Number 5: Focus and Lens Positioning
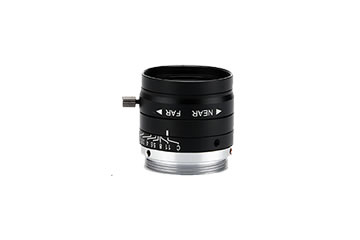
The next thing you need to pay attention to is the focus and position of the line scan lens 8k. Poor positioning or bad focus: If the lens is not positioned correctly or focused in the wrong place, it can either take out-of-focus images or image that don’t accurately represent the object. The field should be dealt with lens alignment techniques and tools so, the lenses are positioned in place properly. Now you might have to turn the focus ring on the lens or even hold it up to a microscope. Furthermore, it may prevent images from being hazy and unclear by measuring how far the lens is away from the target object. Do all this to get images that are, in my opinion, the most capable of showing off your equipment accurately.
Keeping an Eye on the Fragility of Scanning
Line scan lenses still have some problems, one of them is distortion or aberations. In other words, the object is not represented in a picture through its entire form; this can be very misleading when the distortion happens. Think about trying to see a picture of a perfect circle, and instead, you are getting an oval. These would be difficult to interpret without knowing what you were looking at! Aberrations, however, are a blurry or flawed image mostly making it too hard to tell what the picture is. For this particular problem, you will need to purchase and use the following equipment for image analysis software, lens correction filters, calibration charts etc. Any of these resources will flag issues with the images and provide ways to solve them.
Finding the Right Settings
At last but not least, you want to find some nice setting on how the line scan lens works. This is selecting correct parameters like exposure time, gain and trigger delay. Exposure time is how long the lens stays open to get the picture, gain is how sensitive it is to light and, trigger delay means getting the scan timed right. By choosing the correct settings of these factors, you can also ensure a more fine line scan lens to take better images and precision results. Take the time to do this properly and you will end up with great images that you can use in your workflow.
So, this was all the reference information you need to take care when you are working with line scan lens 12k for clear and appropriate images. Steps such as adequate calibration, resource-selection for image quality and resolution selection, fine-tuning in focus and position tweaking to make the real-time tracking better should come first. Troubleshooting other image-related issues like distortion and learning how to properly adjust settings for performance contrast will be crucial. With the help of these tips and correct tools you can turn your line scan lens image into pinpoint clear with accuracy. This is going to improve your result in your work. CHIOPT offers a variety of line scan lenses and accessories for all your imaging needs. But whether you are in a lab or a factory, we are here to help you get the best images possible!
0 条评论